The Char-Broil Electric Smoker is a versatile and user-friendly appliance designed to deliver delicious smoked flavors․ With its advanced features and ease of use, it simplifies the smoking process for both beginners and experienced cooks, ensuring perfectly cooked meats every time․
1․1 Overview of the Char-Broil Electric Smoker
The Char-Broil Electric Smoker is a modern, versatile appliance designed for outdoor cooking enthusiasts․ It combines ease of use with advanced features, making it ideal for both beginners and seasoned smokers․ The smoker boasts a robust construction, digital temperature controls, and ample cooking space, ensuring consistent results․ Its compact design and user-friendly interface allow for precise control over smoking conditions, while the durable materials ensure long-lasting performance․ Whether you’re smoking meats, fish, or vegetables, this smoker offers the perfect balance of convenience and flavor․
1․2 Importance of Following the Instruction Manual
Adhering to the Char-Broil Electric Smoker manual is essential for safe and efficient operation․ Proper assembly, temperature control, and maintenance procedures ensure optimal performance and prevent potential hazards․ The manual provides detailed guidelines for troubleshooting common issues, maximizing the smoker’s lifespan, and achieving consistent results․ Following the instructions also helps users understand advanced features and customization options, ensuring a seamless cooking experience․ By adhering to the manual, users can fully utilize the smoker’s capabilities while maintaining safety and warranty compliance․
Assembly and Initial Setup
Unpacking and inventorying all parts is crucial․ Follow the manual’s step-by-step instructions for proper assembly․ Ensure all components are securely attached․ Complete initial power-up and safety checks before first use․
2․1 Unpacking and Inventory of Parts
Begin by carefully unpacking the smoker from its box․ Check for any damage during shipping․ Next, inventory all parts, including the main unit, racks, drip pan, and hardware․ Refer to the manual for a detailed list of components․ Ensure no items are missing or damaged․ This step is crucial to ensure smooth assembly and proper functioning of the smoker․ Organize parts by category to make the assembly process efficient․ If any parts are missing, contact customer support immediately to resolve the issue before proceeding․
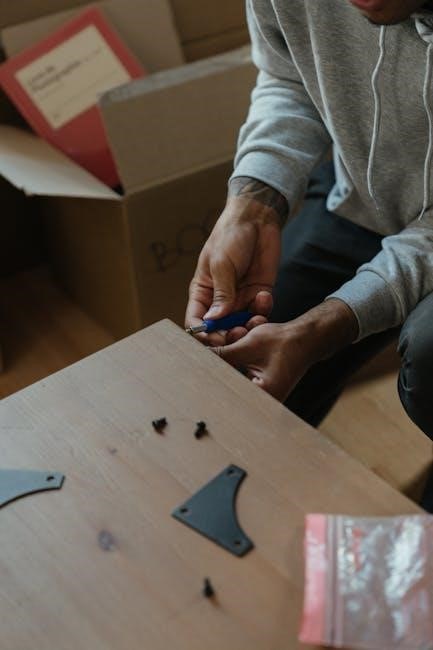
2․2 Step-by-Step Assembly Instructions
Begin by assembling the main unit, attaching the legs securely using the provided hardware․ Next, install the racks, ensuring they fit snugly into the designated slots․ Attach the handle to the door and align the hinges properly․ Place the drip pan at the bottom of the smoker․ Connect the electrical components, making sure all wires are securely fastened․ Follow the manual for specific bolt and screw placements․ Tighten all parts firmly but avoid over-tightening․ Double-check the alignment of all parts before finalizing․ If any part doesn’t fit, refer to the troubleshooting section or contact support․
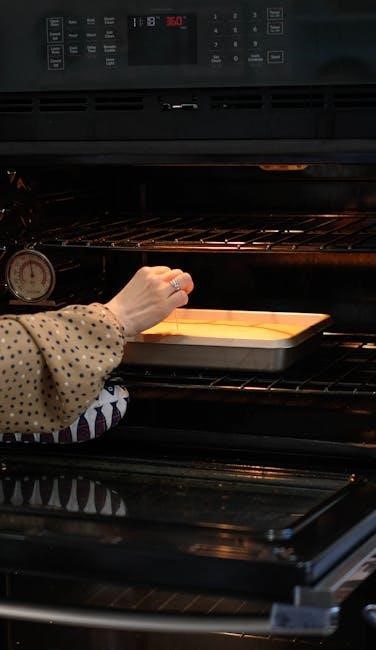
2․4 Initial Power-Up and Safety Checks
Before first use, plug in the smoker and ensure the power cord is undamaged․ Turn it on and check for any unusual sounds or odors․ Verify that all components, like the heating element and digital controller, are functioning properly․ Inspect the seals and vents to ensure they are clear and unobstructed․ Run a test cycle at a low temperature to confirm even heat distribution․ Allow the smoker to preheat for 30 minutes to burn off any manufacturing residue․ Always follow the manual’s safety guidelines to avoid hazards and ensure optimal performance․

Operating the Char-Broil Electric Smoker
Operating the Char-Broil Electric Smoker is straightforward, with a digital interface for temperature control and smoke settings․ It ensures consistent results for a variety of meats and dishes․
3․1 Selecting the Right Smoking Options
Selecting the right smoking options on your Char-Broil Electric Smoker involves choosing the appropriate wood chips, temperature, and cooking time for the type of meat you’re preparing․ Different meats like brisket, ribs, and chicken require specific settings to achieve the best flavor and texture․ The smoker allows you to preset these options, ensuring a tailored smoking experience․ Always refer to the instruction manual for detailed guidelines on selecting the optimal settings for your desired outcome․ Proper selection enhances the smoking process and results in delicious, professionally smoked dishes․
3․2 Temperature Control and Monitoring
The Char-Broil Electric Smoker features precise temperature control, allowing you to set and maintain the ideal heat for smoking․ Using the digital controller, you can adjust the temperature between 100°F and 350°F, ensuring consistent results․ The smoker is equipped with a thermometer to monitor internal temperatures accurately․ Regular monitoring is essential to prevent overheating or undercooking․ By following the instruction manual, you can master temperature management, ensuring your meats are smoked to perfection․ Proper temperature control enhances flavor and texture, making your smoking experience both enjoyable and successful․
3․3 Best Practices for Smoking Different Meats
For optimal results, tailor your smoking approach to the type of meat․ Brisket and ribs benefit from low-and-slow cooking, while poultry requires higher temperatures to ensure food safety․ Fish, being delicate, should be smoked at lower temps for shorter durations․ Always season meats generously before smoking and let them rest post-cooking․ Use wood chips or chunks to enhance flavor, experimenting with varieties like hickory, apple, or mesquite․ Monitor meat internal temperatures and adjust settings as needed․ Proper technique ensures tender, flavorful dishes every time․
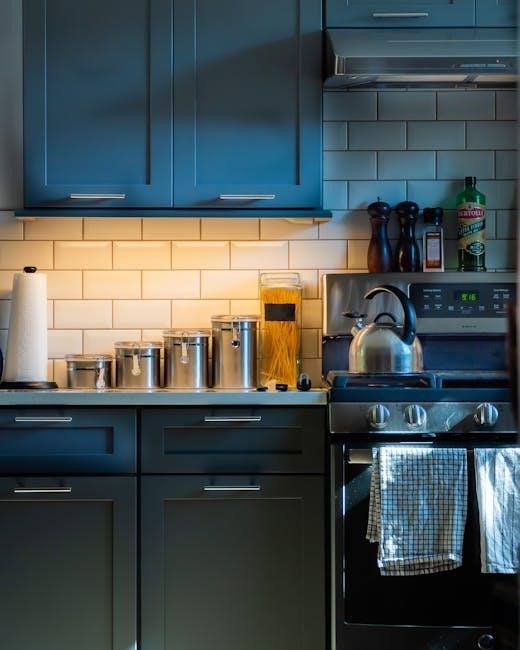
Maintenance and Cleaning
Regular maintenance ensures longevity and optimal performance of your Char-Broil Electric Smoker․ Clean debris and grease after each use, and check for wear and tear․ Proper upkeep prevents damage and maintains flavor consistency․
4․1 Regular Maintenance Tips
Regular maintenance is crucial for the longevity and efficiency of your Char-Broil Electric Smoker․ After each use, clean the interior and exterior thoroughly, removing grease and food debris․ Check the heating element and ensure it is free from obstructions․ Inspect the smoker for any signs of wear or rust and address these issues promptly․ Properly store the unit in a dry, protected area when not in use․ Following these tips will ensure consistent performance and maintain the quality of your smoked dishes over time․
4․2 Cleaning Procedures After Each Use
After each use, clean your Char-Broil Electric Smoker thoroughly to prevent residue buildup․ Allow the unit to cool completely before starting․ Use a soft brush or cloth to wipe down the interior and exterior surfaces, removing grease and food particles․ Clean the drip pan and water tray with mild soap and warm water․ For tough stains, mix equal parts water and white vinegar in the water pan and run the smoker on low heat for 30 minutes․ This helps loosen grime․ Avoid using abrasive cleaners to maintain the smoker’s finish and ensure optimal performance for future use․
4․3 Troubleshooting Common Issues
Common issues with the Char-Broil Electric Smoker can often be resolved with simple troubleshooting․ If the smoker won’t turn on, check the power cord and ensure it’s properly plugged in․ For temperature fluctuations, verify that the smoker is on a level surface and vents are unobstructed․ If smoke isn’t circulating, clean the vents and ensure wood chips are dry․ Refer to the user manual for specific guidance․ Regular maintenance, such as cleaning the heating element and checking connections, can prevent many issues․ Always unplug the unit before performing any repairs or adjustments for safety․

Advanced Features and Customization
The Char-Broil Electric Smoker offers advanced features like digital controls, customizable smoke settings, and remote monitoring, enabling users to personalize their smoking experience for consistent, professional results․
5․1 Using the Digital Controller Effectively
The digital controller on the Char-Broil Electric Smoker simplifies temperature management and smoke settings․ By navigating the intuitive interface, users can effortlessly set and monitor cooking parameters for consistent results․
Key features include precise temperature control, programmable timers, and customizable smoke levels․ Regularly updating the controller’s firmware ensures optimal performance and access to new features, enhancing your smoking experience․
5․2 Customizing Smoke Flavors and Settings
Customizing smoke flavors and settings on the Char-Broil Electric Smoker enhances your cooking experience․ Users can adjust smoke intensity, experiment with different wood chip varieties, and fine-tune temperature settings to achieve unique flavor profiles․
The digital controller allows for precise customization, enabling you to tailor smoke levels, moisture, and heat distribution․ Exploring these features ensures your dishes reflect your personal culinary style, whether you prefer bold, smoky flavors or subtle, nuanced notes․
5․3 Remote Monitoring and Smart Technology
The Char-Broil Electric Smoker features advanced smart technology, allowing for remote monitoring through a dedicated app․ This innovative system enables users to track cooking progress, adjust temperatures, and receive notifications without needing to stay nearby․ With Wi-Fi connectivity, you can effortlessly manage your smoker from the comfort of your home, ensuring perfectly smoked dishes every time․ This feature is particularly useful for long smoking sessions, providing peace of mind and convenience for an optimal cooking experience․
Warranty and Customer Support
Char-Broil offers a comprehensive warranty program, ensuring coverage for parts and labor․ Dedicated customer support is available to address inquiries and provide assistance, enhancing your ownership experience․
6․1 Understanding the Warranty Terms
Char-Broil provides a detailed warranty program for their electric smokers, covering manufacturing defects and ensuring reliability․ The warranty typically includes specific durations for parts and labor, with clear terms outlined in the manual․ It’s essential to review the warranty document to understand what is covered and for how long․ Proper registration and maintenance are often required to maintain warranty validity․ Understanding these terms helps users make informed decisions and ensures they can address any issues promptly, minimizing downtime and maximizing their smoking experience․
6․2 Contacting Char-Broil Customer Service
For assistance with your Char-Broil Electric Smoker, customer service is readily available to address inquiries and concerns․ You can reach them via phone, email, or through the official website’s contact form․ The support team is equipped to handle questions about troubleshooting, warranty claims, and general product usage․ Additionally, live chat options may be available on their website for immediate support․ Be prepared to provide your product serial number and a detailed description of your issue for a faster resolution․ Visit the Char-Broil website for the most up-to-date contact information and support resources․